

Thorn Pilote T1 Lantern Installations
Somewhat of a rarity here in the UK, the Thorn Pilote T1 is the smallest version of the Thorn Pilote. There are 3 sizes available, T1, T2 and T3. The T1 lantern can use lamps of a wattage up to 150W. Deep acrylic and flat glass bowls were available, and the lanterns have polypropylene canopies.
Birmingham
A site off Nelson Road uses a Thorn Pilote T1 as a replacement for a Lanzini Sole lantern.

Cavendish Bridge
Countless Pilote T1s line the cycleways and footpaths around Sawley Junction. Thank you to AgentHalogen_87 for providing the following images after a data corruption:

The first example is day-burning:

The next Pilote T1 is looking a bit battle-scarred, likely due to vandals throwing rocks or shooting at it.


Another example further down the path:


The Pilotes continue down the path, with the occasional Holophane Estilo and a few other lanterns mixed in.

Among the trees was this damaged Pilote T1 missing it's bowl and containing a lamp with a damaged arc tube.


Tamworth
The Pilote T1 is used in Amington here in Tamworth. They're situated on Bracklesham way, extensively lining the road and continuing all the way to the end of Brindley Drive. Mounted at a height of 10m, these are The T1 variety, running 150W SON. Column T1 of Bracklesham Way was struck on the 16/01/2025. The column remained largely undamaged but the lantern came flying off. It smashed into the brick wall, with most falling into the canal and some falling onto the pathway.

The column was pushed a few cm through the concrete.

This was all that was left of the lantern, with the rest having fallen into the canal. The column was attended just one hour after my report, the lantern was cleaned up, the column shut off and the piece of lantern that was left hanging was cut down.

An image of the same lantern from a few months previously:

The following images are of the roundabout connecting Bracklesham Way to Brindley Drive.


There used to be this one outlier, on a residential street just off of Bracklesham way. It gave an opportunity for a closer-look at the T1 lantern as this one was mounted just 6m above the ground-level. It ran 70W SON-T. This installation was removed in late 2023.

Taking the second exit on the roundabout (coming from Bracklesham Way) leads you to Brindley drive. Here, Thorn Pilote T1s occupy nearly every column, running 150W SON-T lamps. Column T5 was first to be photographed. If you click to enlarge the right-hand-side image, you may notice something quite typical for these fixtures


Another angle of the same lantern highlights the issue at hand. The canopy is open! This may have been caused by the wind, but to open the canopy, a screwdriver needs to be inserted to release two clips. These lanterns are notoriously difficult to close, so what may have happened is an engineer struggled to close it after servicing. This reoccurring theme continues down Brindley Drive, as will be apparent in the following images.

Taken from the roadside opposite the previous installation, a picture depicting the Pilote T1s lining Brindley Drive. Two Thorn Civic 1s and an Industria Arc 90 are visible in the image.

The next installation to fall victim to my camera was column T9. Evidence of my theory towards engineers struggling with these comes in the form of a single cable-tie wrapped around the canopy. This could also be due to weather damaging the clips or canopy.

Column T11 is pictured below, with a Pilote T1 that looks to be in immaculate shape! (That is if you exclude the horrendously-yellowed bowl)! Another thing to note, this massive road is barely used! I was able to freely stand in the middle-of-the-road to get the best angles for my pictures, with roughly 10 cars passing in the two hours I was there.


A double-armed column supporting two Pilote T1s (running 150W SON) is located on the eastern branch of the junction connecting Christchurch Road to Brindley Drive.

A closer-look at both of the lanterns.


On the western-branch, a double armed column is also situated. This would have previously had two Thorn Pilote T1s installed, but a WRTL Arc 90 was installed to replace a damaged lantern between 2012 and 2022. This gives the column an almost-comical appearance, with the Pilote T1 being dwarfed by the Arc 90, which is twice it's size!


I decided to give my camera it's best shot, and photograph some of the distant Pilote T1s visible in the heat haze on this scorching spring day.


The next column to be photographed was T20, situated on the northern-side of the junction joining Christchurch Road to Brindley Drive. It is yet another example of one which remains unclipped at the back.


Column T22 is the next column along, following the northern side of the road. It has a clear(er!) bowl allowing for a foggy view of the 150W SON-T lamp inside.


An interesting thing-to-note about these columns is the existence of old, faded column numbers on some of them. One of these is apparent in the form of a white sticker towards the bottom left of the image below.

I continued down the northern-side of the road, to column 24 where I stopped to rest for a bit. (I was also waiting for the Sun to emerge once-again so I could get the best pictures! A rare sight of two cars at once is visible in the distance. I'm sure this road is at least slightly-more lively when it isn't Sunday!


Column T25:


Column T26 is pictured below!


If you look closely at the stickers, you can see that new ones have overlayed the older (faded) ones.

Column T28:


Some minor damage is apparent towards the bottom of the column door.

Column T29 is an identical installation to all of the single-arm Pilote T1 columns seen so far, but it won't hurt to include more pictures!


This road is one of my favourite places to walk down. The vast-open road is almost always completely deserted (as demonstrated in the image of T30 below) giving an overall feeling of being trapped in a liminal-space. To be so close to a residential estate, yet feel completely isolated is an incredibly uncanny feeling. The weird-look of the Pilote T1 certainly complements this!
Column T30 is also unremarkable. Well, unless you include the devastated wasp nest inside the bowl!


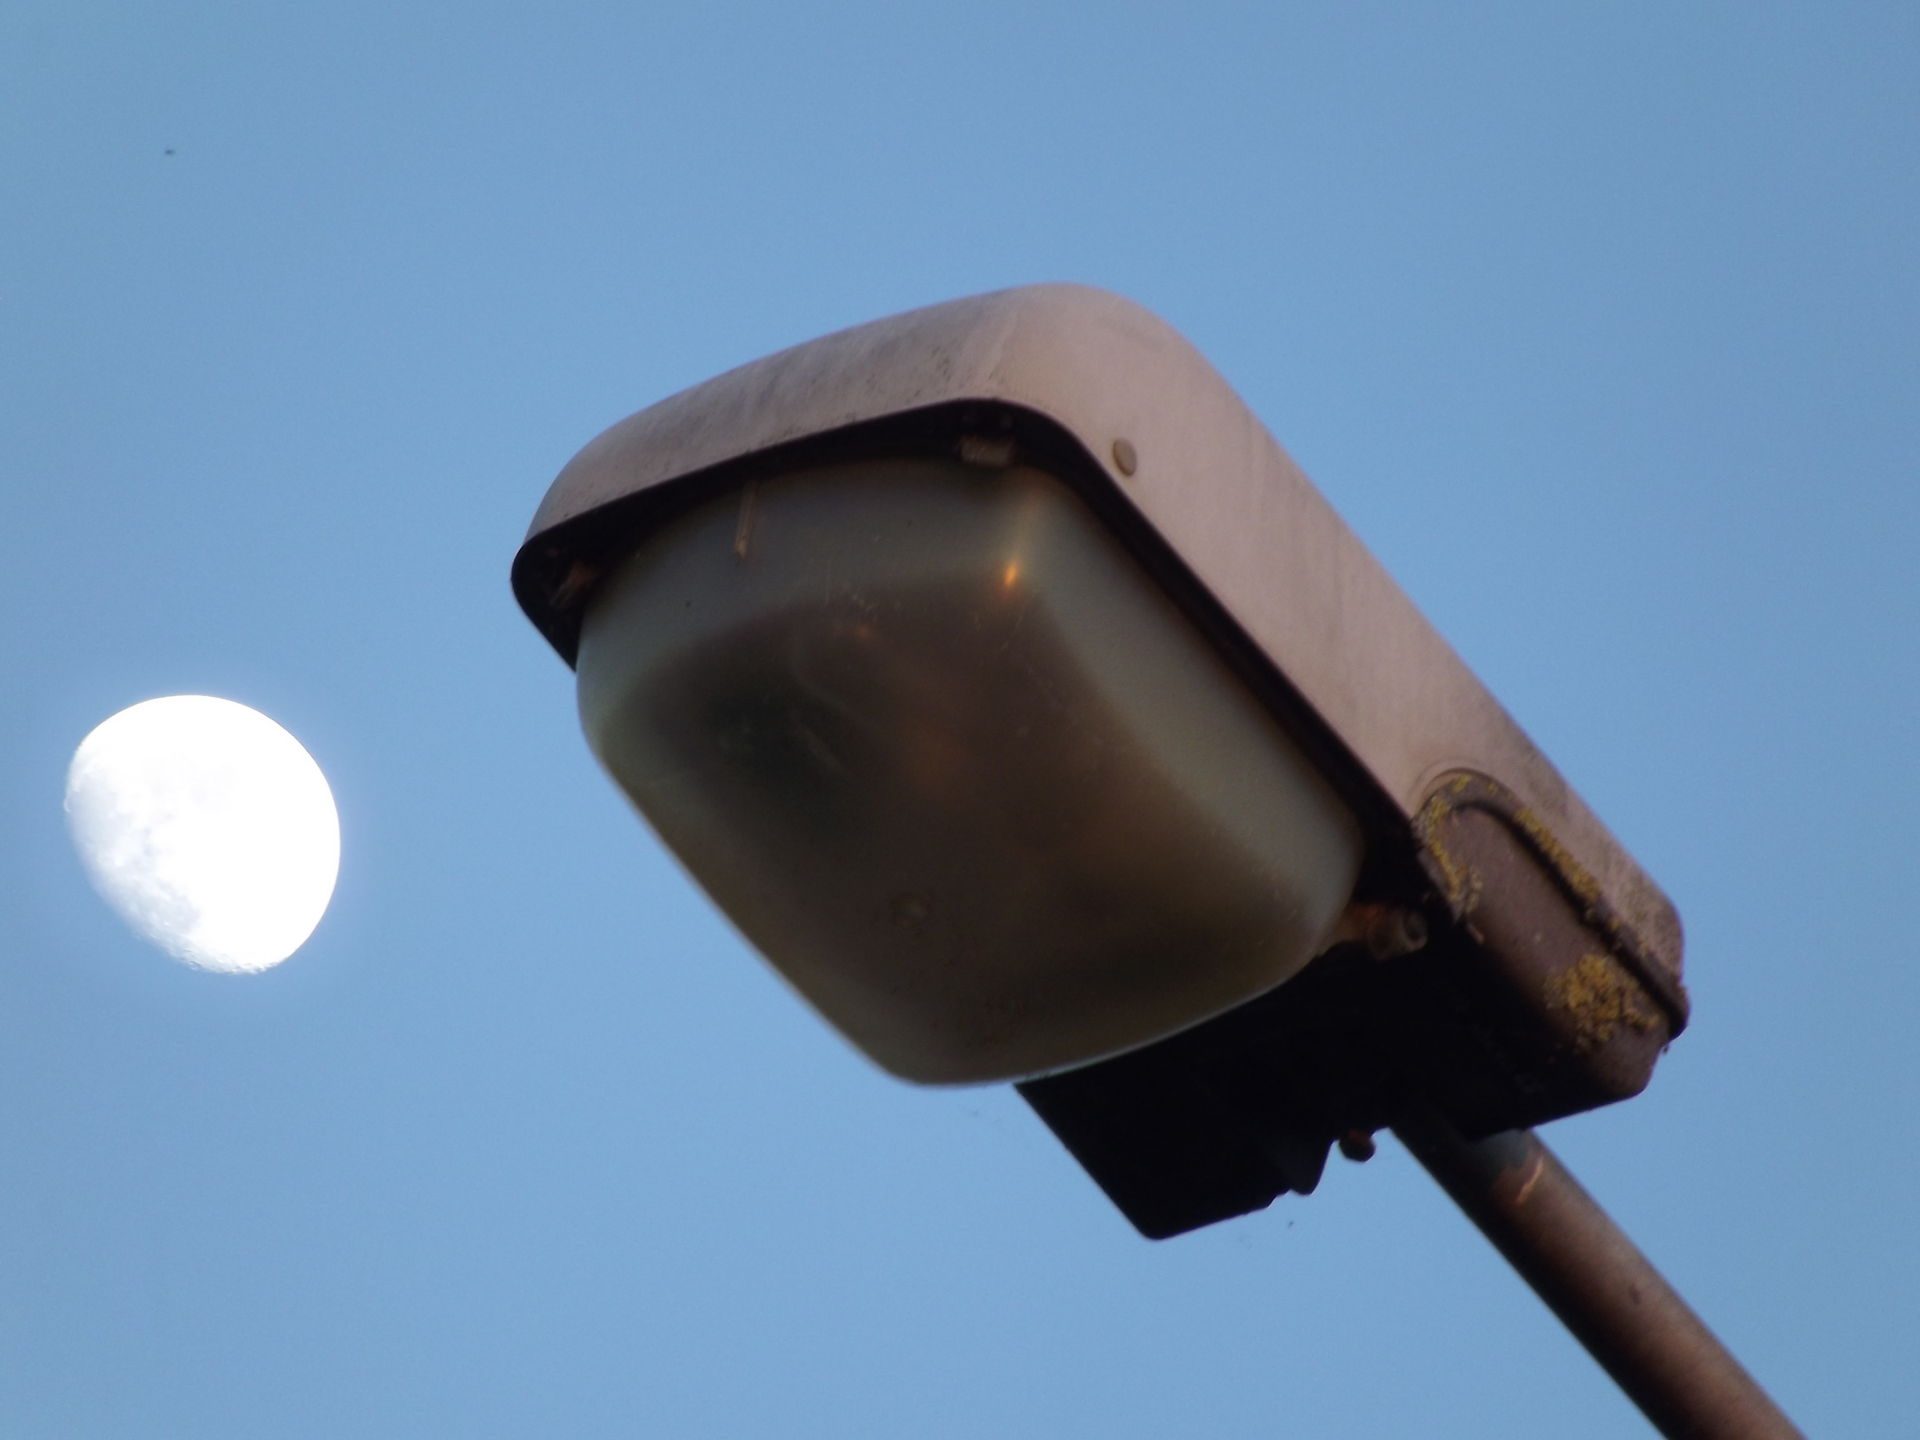
After tripping over the kerb (there just had to be a car coming down the road to witness that one!) I got this photograph of a Pilote T1, with the gloomy weather closing in fast. Thankfully, it missed, and passed overhead within a few minutes.

A composite photo of the same lantern taken on a different date. The moon was there, but appeared blurry in the original, so I took an image of the moon separately while photographing the lantern and superimposed it over the top.
The final (notable) column that supports T1 Pilotes on this road is this double-arm column in the centre of the junction connecting Whitley Avenue to Brindley Drive. Based on the map, I believe Brindley Drive was supposed to continue past this point following the train tracks towards the Town Centre much like Tamworth Road. Why this didn't happen -or if it was truly meant to- is unclear.


Thank you to AgentHalogen_87 for the following close-ups of this installation:
Notice with this close-up a damaged hinge is present, an all-too-familiar sight with these things.


Fitted on top is a Zodion SS6 photocell.

